
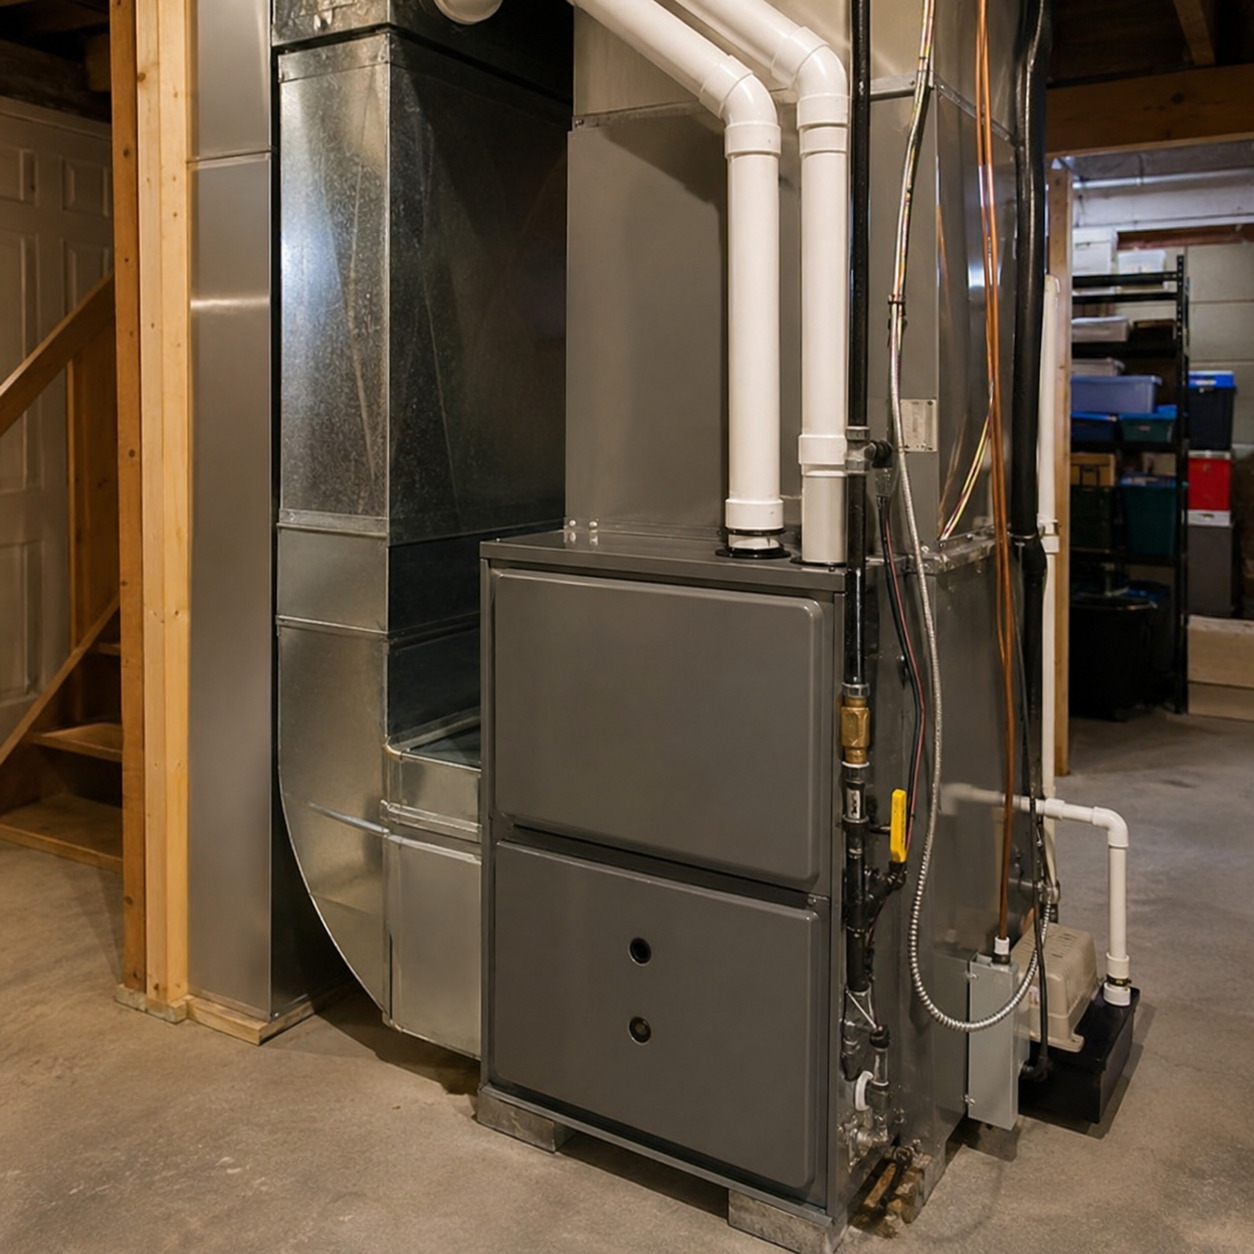
Furnace Installation in Kennesaw, GA
Tired of an Inefficient Furnace? Upgrade Your Home Comfort
A poorly functioning furnace can make winter uncomfortable, increase energy use, and leave some rooms colder than others. If your current system is aging, breaking down frequently, or struggling to heat your home evenly, it may be time to consider a replacement.
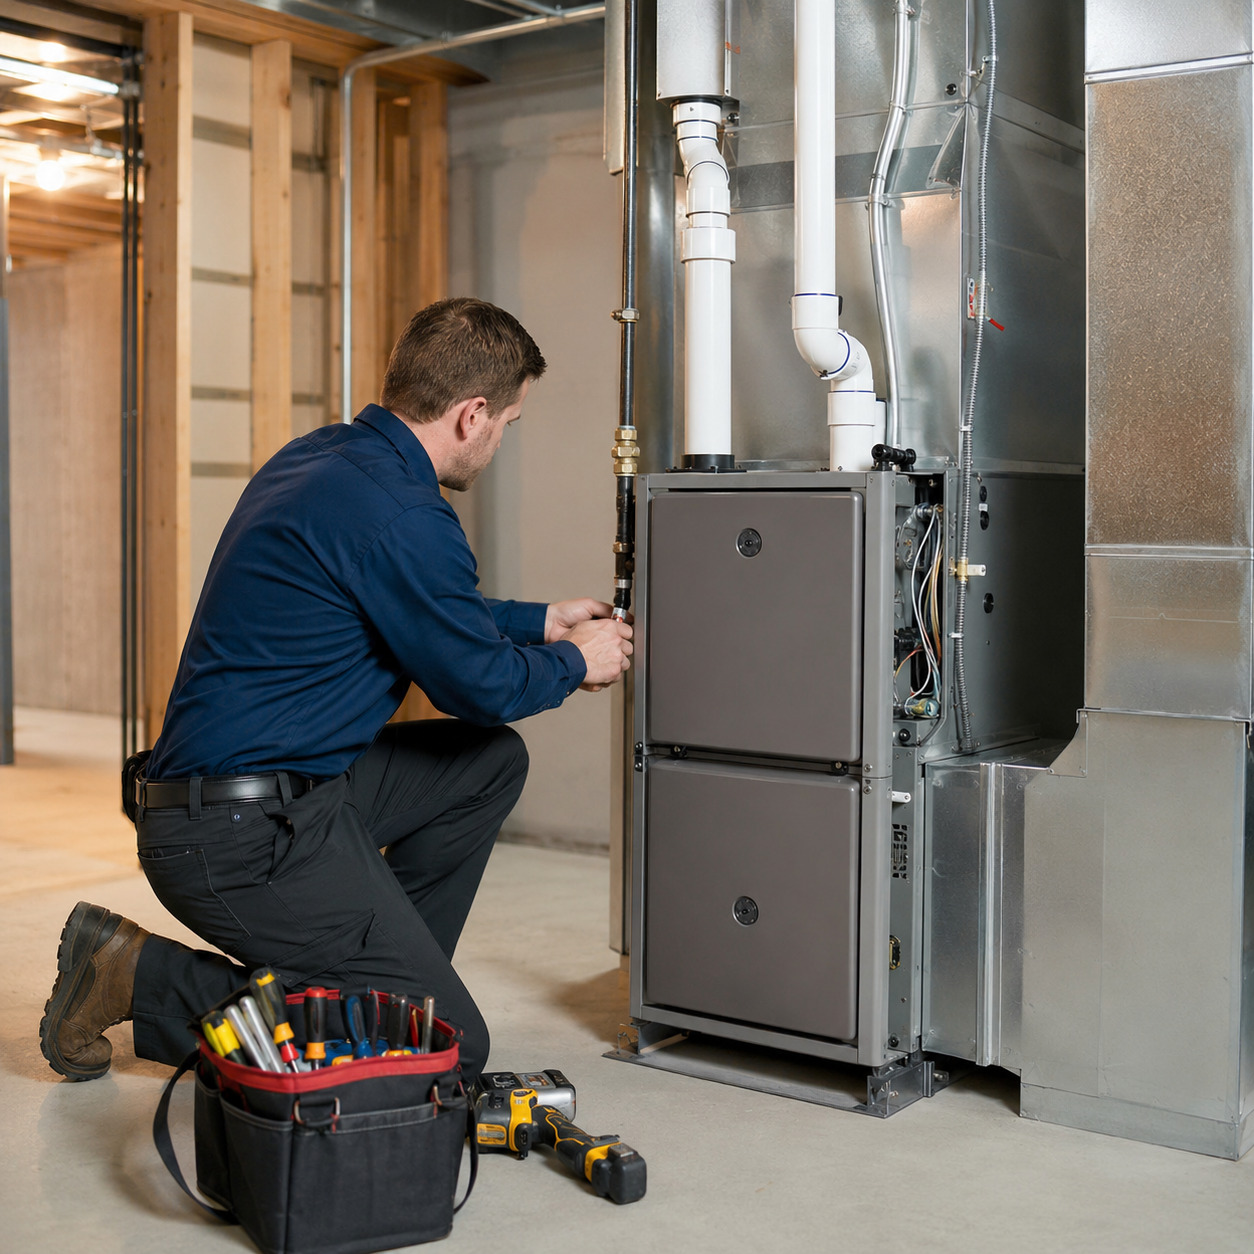
Weather Masters of Georgia provides professional furnace installation in Kennesaw, GA for homeowners and businesses that want reliable heating, better energy efficiency, and consistent indoor comfort. Our team can inspect your home, evaluate your heating needs, and recommend the right furnace for your space and budget.
- More reliable heating during colder months
- Better room-to-room comfort
- Improved energy efficiency
- Reduced strain on heating equipment
- Fewer unexpected breakdowns
- Better control over indoor temperatures
- Stronger long-term furnace performance
Schedule An Appointment With Us Today!

Why Professional Furnace Installation Matters?
Choosing the right furnace is only part of the process. Proper installation affects heating performance, energy use, airflow, safety, and long-term reliability.
Professional furnace installation helps make sure your equipment fits your home and works properly with your ductwork, thermostat, wiring, and existing HVAC setup.
A quality furnace may still perform poorly if it is not installed correctly. Skipping important steps can lead to higher energy use, uneven heating, airflow problems, and avoidable repairs as;
- Choosing the wrong furnace size
- Ignoring ductwork problems
- Poor airflow planning
- Incorrect wiring or connections
- Using an incompatible thermostat
- Skipping final system testing
- Overlooking ventilation requirements
Our Furnace Installation Process
A successful furnace installation starts with understanding your home and heating needs. Our team checks the important details before recommending a new system.
Home Heating Evaluation
We review your home size, room layout, windows, insulation, and other factors that affect the amount of heating your property needs.
Ductwork & Airflow Check
We inspect the ductwork to understand how heated air moves from room to room and identify issues that may reduce furnace performance.
Furnace Sizing & Selection
We help you choose a furnace that matches your home’s heating needs, available space, comfort goals, and budget.
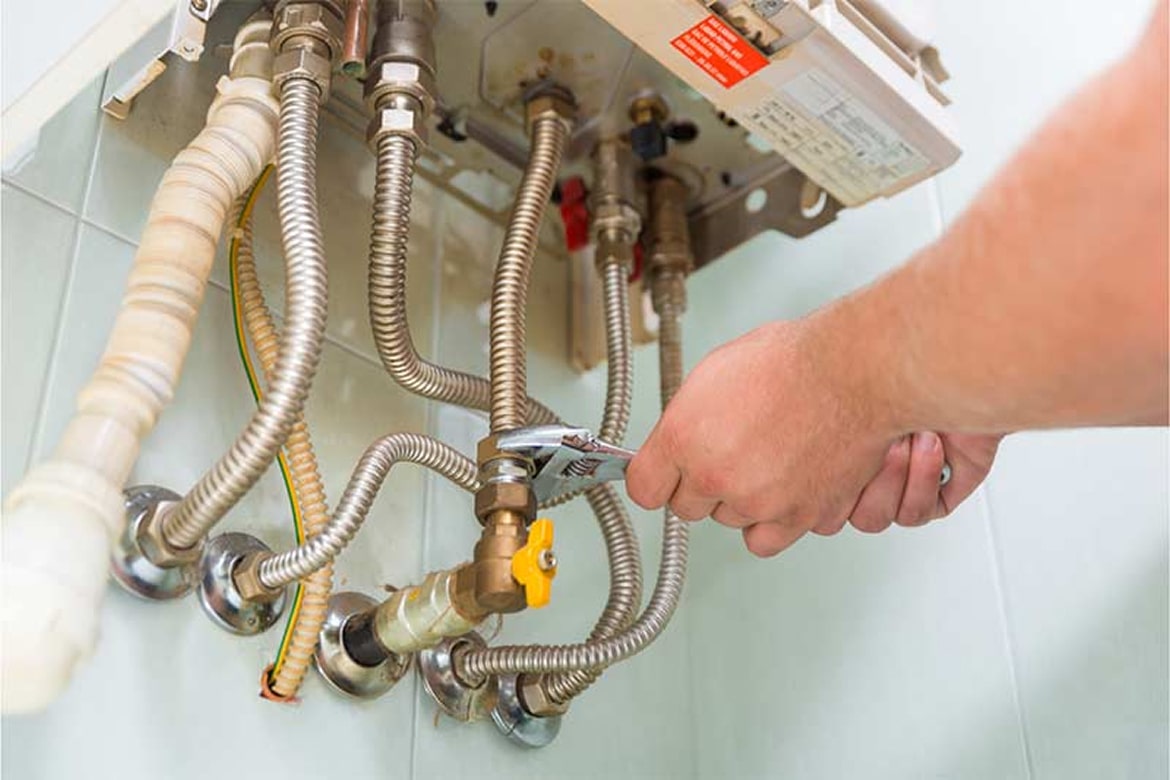
Wiring & Connection Review
Before installation, we check the wiring, connections, drainage requirements, and compatibility with your existing HVAC equipment.
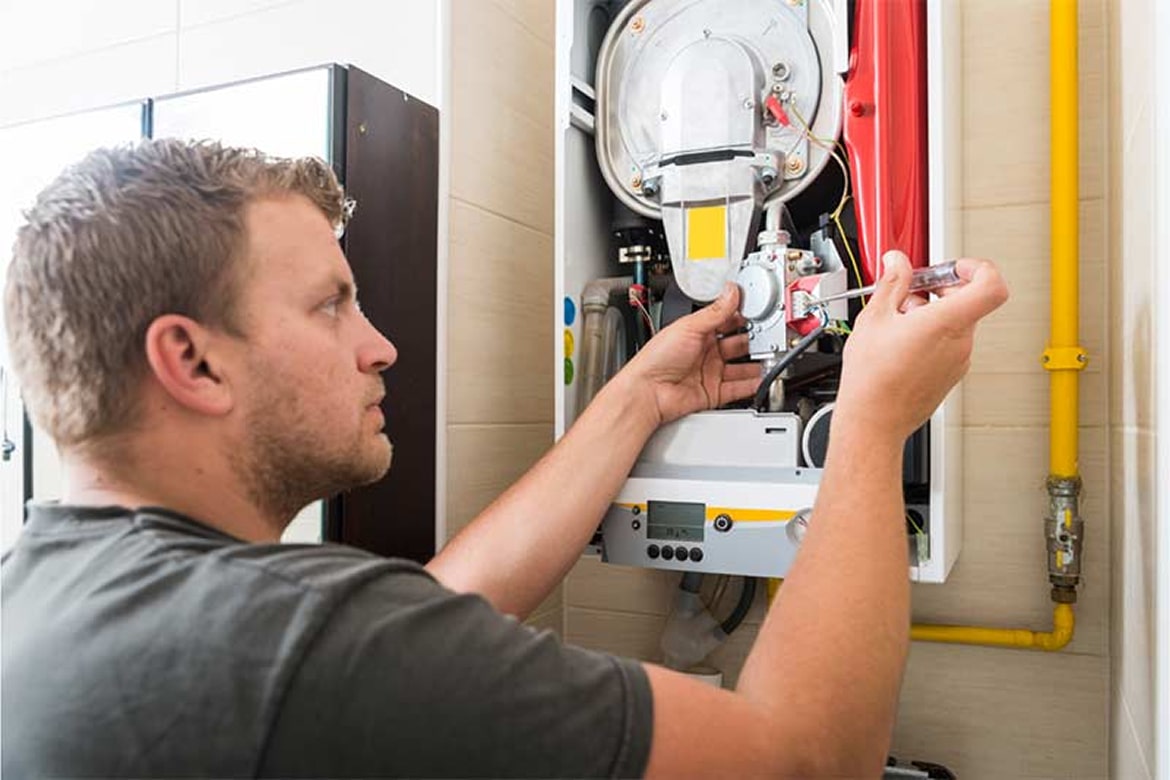
Professional Installation & Testing
After installing the furnace, we test the system to make sure it heats properly, cycles correctly, and delivers reliable airflow.
Do You Need to Replace Your Furnace?
A furnace may continue to run even when it is no longer heating your home efficiently. Knowing the warning signs can help you replace the system before it causes bigger comfort or safety issues.
- Your furnace makes unusual noises
- Some rooms feel colder than others
- Energy bills continue to increase
- The system needs frequent repairs
- You notice unusual odors
- The furnace runs longer than normal
- Airflow feels weak
- The system turns on and off too often
- Your furnace is aging
- Your home no longer feels consistently warm
A professional inspection can help determine whether repair or replacement is the better option.
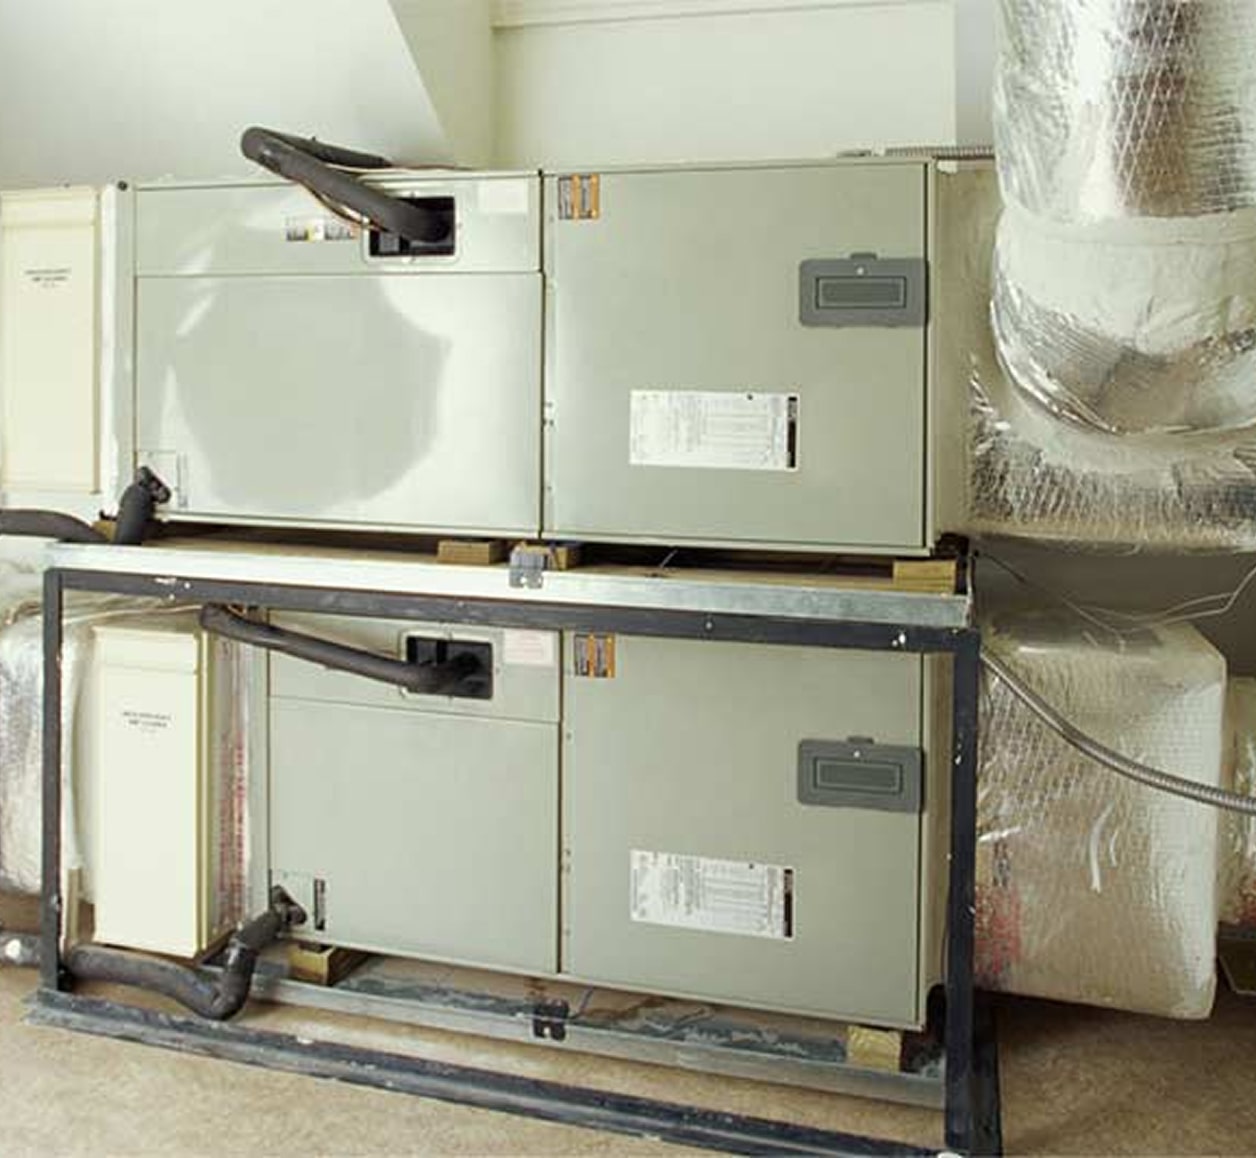
High-Efficiency Furnace Upgrades
Upgrading to a high-efficiency furnace can improve home comfort while reducing unnecessary energy waste. Modern systems are designed to convert more fuel into usable heat and may include features that help the furnace respond more effectively to your heating needs.
- More efficient home heating
- Reduced fuel waste
- Better room-to-room comfort
- More consistent indoor temperatures
- Improved system reliability
- Lower strain on heating equipment
- Better long-term heating performance
The right furnace depends on your home, current system, ductwork, thermostat, and comfort goals.
Choosing the Right Furnace for Your Home
The best furnace is not always the largest or most expensive option. The right system should match your home’s heating needs and work properly with your existing HVAC setup.
Furnace Size
A properly sized furnace helps heat your home efficiently. A system that is too small may run constantly, while an oversized furnace may turn on and off too often.
Fuel Type
Your existing setup and available fuel source can affect which furnace options are suitable for your home.
Ductwork Condition
Leaky, damaged, or poorly sized ducts can reduce heating performance. Ductwork should be checked before installing a new furnace.
Home Insulation
A well-insulated home holds heat more effectively and reduces the amount of work your furnace needs to do.
Thermostat Compatibility
A compatible programmable or smart thermostat can help you control temperatures more accurately and reduce unnecessary system use.
Comfort Goals
Your furnace should fit your home, budget, and expectations for heating performance, efficiency, and long-term reliability.
Furnace Efficiency Ratings
Furnace efficiency is commonly measured using Annual Fuel Utilization Efficiency, or AFUE. This rating shows how much of the fuel used by the furnace becomes usable heat for your home.
A higher AFUE rating generally means the furnace converts more fuel into heat and wastes less energy. However, the efficiency rating is only one part of the decision.
Proper installation, furnace sizing, ductwork condition, insulation, thermostat settings, and routine maintenance also affect real-world heating performance.
Proper installation helps reduce these risks and gives your furnace the best chance to perform reliably.
Routine maintenance helps protect your investment and allows small issues to be identified before they become bigger problems.
Keep Your New Furnace Running Efficiently
Regular care can help protect furnace performance after installation. Simple maintenance habits may reduce unnecessary strain and help your system work more smoothly.
- Replace or clean air filters regularly
- Keep vents open and unblocked
- Check thermostat settings seasonally
- Schedule routine furnace maintenance
- Watch for unusual noises or odors
- Keep the area around the furnace clear
- Address weak airflow early
- Call for service if heating performance changes
High-Efficiency Furnace Features to Consider
Modern furnace systems may include features that improve comfort, control, and heating performance.
Variable-Speed Blower
A variable-speed blower can adjust airflow based on your home’s heating needs. This can support quieter operation and more consistent comfort.
Multi-Stage Heating
A multi-stage furnace can adjust its heating output instead of running at full power every time. This can help maintain steadier temperatures.
Smart Thermostat Compatibility
A compatible smart thermostat can help you manage schedules, control temperature settings, and reduce unnecessary heating when you are away.
Better Airflow Control
A properly selected furnace should work with your duct system to distribute heated air more evenly throughout your home.
Schedule Furnace Installation With Weather Masters of Georgia
Weather Masters of Georgia helps homeowners and businesses in Kennesaw choose furnace systems that support reliable heating, better comfort, and long-term performance.
If your current furnace is aging, inefficient, or struggling to keep your home warm, our team can inspect the system and recommend the right replacement option.
Contact Weather Masters of Georgia today to schedule furnace installation in Kennesaw, GA.